Elementor allows you to easily create any type of website without the need to learn any code. You can even create a powerful eCommerce website using Elementor and a free theme.
In this post, I’ll show you how you can use Elementor to create a modern eCommerce website. I’ll show you the entire process of signing up for a hosting plan, installing WordPress and Elementor and using it to build some basic pages as well as your shop pages.
To build your website with Elementor, you’ll need to purchase a hosting plan first. In this section of the tutorial, I’ll walk you through the following steps:
Here’s a quick look at the website we’ll be creating:

Let’s go through these steps one by one.
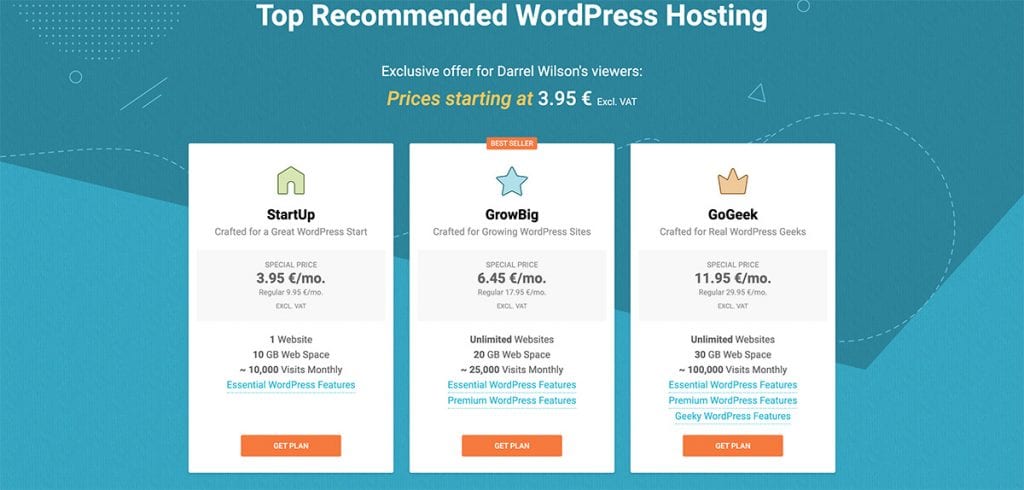
The first step is to get a domain name for your website and a hosting plan. The hosting company I personally use and recommend is Siteground. This company will give you the best uptime for your eCommerce store which is very important and your website will load very fast. In addition, you can purchase a domain name at the same time you’re setting up your hosting plan.
Start by visiting Siteground. As you can see, there are three hosting plans to choose from. I recommend you choose the Grow Big plan as this will allow you to host an unlimited number of websites and give you more disk space and bandwidth.
When you have decided on a plan, it’s time to come up with a domain name for your site. Choose a name that will represent your store and then enter your payment information on the next page.
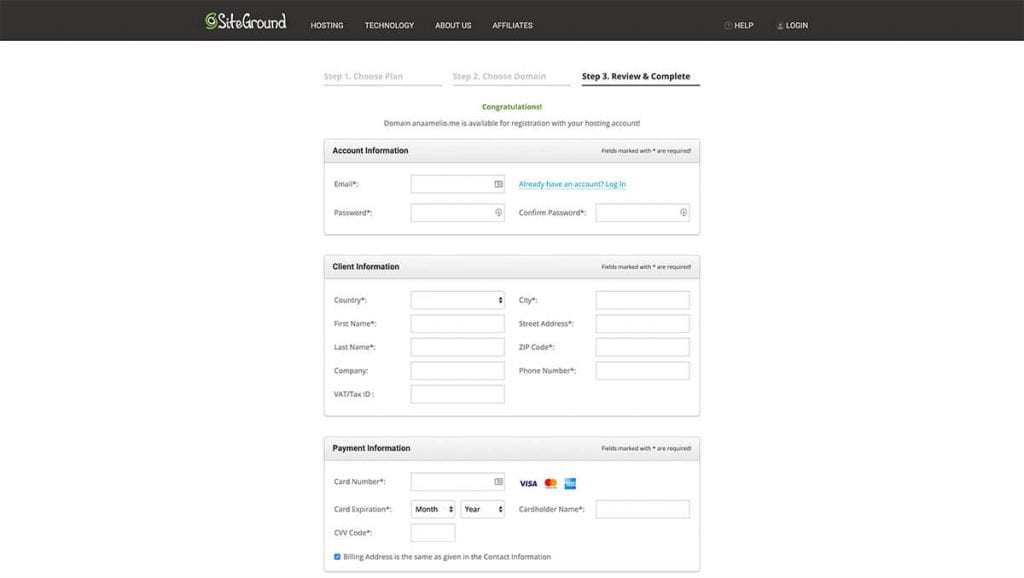
After you submit your payment, Siteground will create your account and you will be able to go to your customer area.
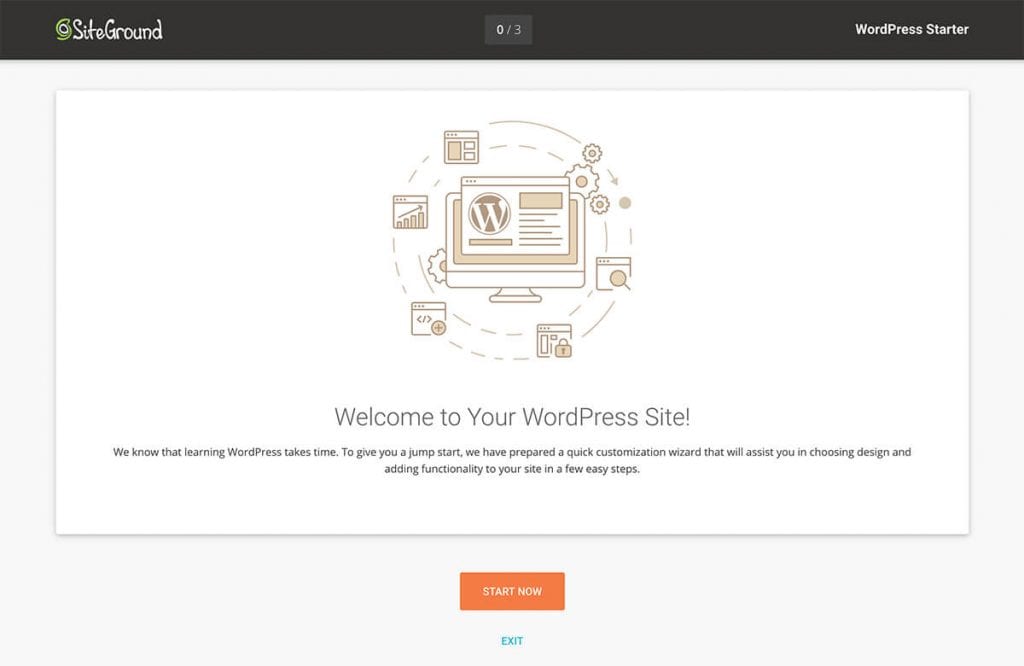
The next step is to install WordPress. In your customer area will be an orange button prompting you to set up your website. Click it and then select Start New Website > WordPress.

You’ll have to choose a username and password that you’ll use to login to your WordPress website. Make sure to copy it and store it somewhere safe. Then, click the Continue button and wait for Siteground to finish installing WordPress on your site.
Once the installation is done, click the Manage Site button. Here, you’ll see your website listed in a table of all WordPress installations and there will be a login icon next to it. Click that icon to be taken to your WordPress dashboard.
By default, there will be a custom dashboard installed by Siteground and their plugin WordPress starter. Since we won’t be using it, go to Plugins > Installed plugins and deactivate and delete that plugin.
Before installing Elementor, there’s one more thing to do here and that’s changing the permalink structure to make it more user and SEO-friendly. Go to Permalinks and then select the Post Name option. Save your changes.
Now that we’ve taken care of a few minor settings, let’s proceed with installing Elementor and our theme.
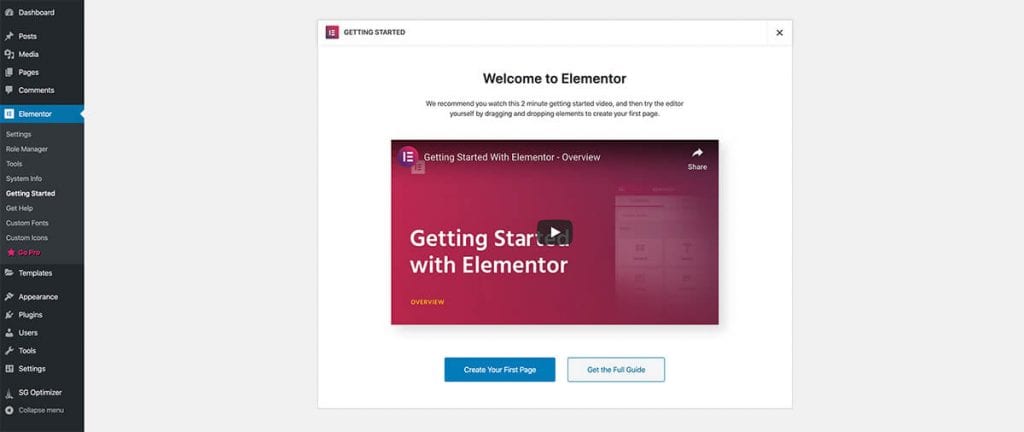
Go to Elementor and click on the button that says Free Download. Enter your email address and submit the form. Elementor will then automatically download to your site.
Go back to your WordPress dashboard and head to Plugins > Add new. Locate the zipped folder with Elementor and install it. When the plugin has been installed, click on Activate.
To install a theme, go to Appearance > Themes. Search for the Astra theme and then install and activate it.
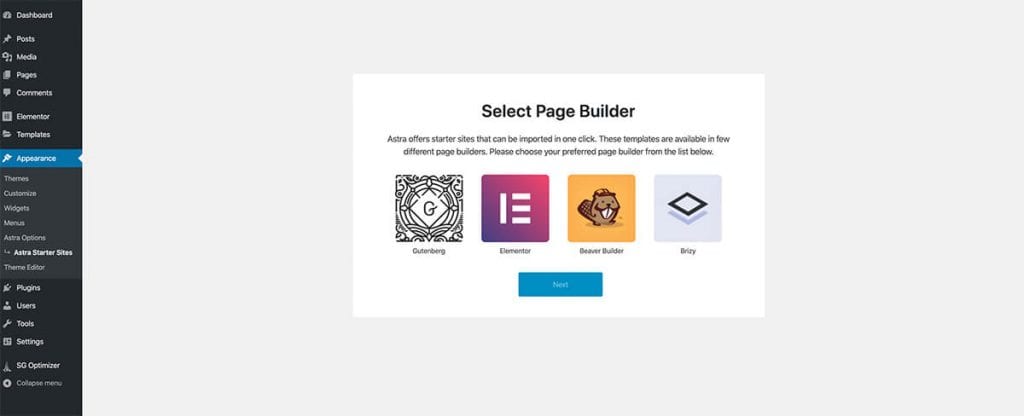
Click on Appearance > Astra Options and select the option to install the Importer plugin. You’ll then be able to select Elementor as your page builder plugin and select the Brandstore template.
Once the template has been imported, you can start working on your site.

Elementor has been installed, Astra is the active theme, and we have a template to use as a starting point. In this part of the tutorial, I’ll show you how to get the template to look like our demo site. We’ll go over the following steps:
Let’s dive in!
From your dashboard, hover your site name in the top admin bar and click on Visit Site. Then, click Edit With Elementor.
You can use Elementor’s interface and building blocks to customize the imported homepage. For example, you can add more elements such as headlines, text, and buttons.
You can remove section you don’t need by right-clicking on them and clicking Delete. You can also duplicate sections and drag them around to rearrange them.
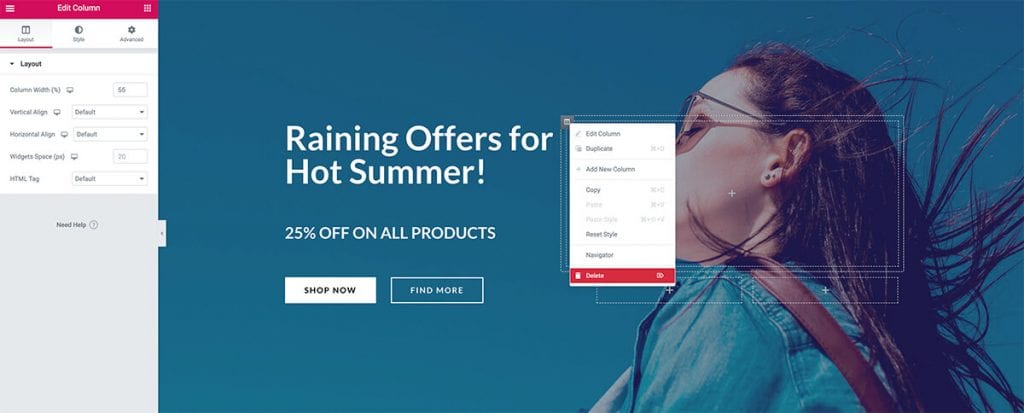
If you click the dots for a particular section, you’ll be able to customize the background, spacing, and more for that section.
If you want to edit a particular block, all you have to do is click the pencil icon and you’ll be able to adjust fonts, colors, background, spacing, and other settings.
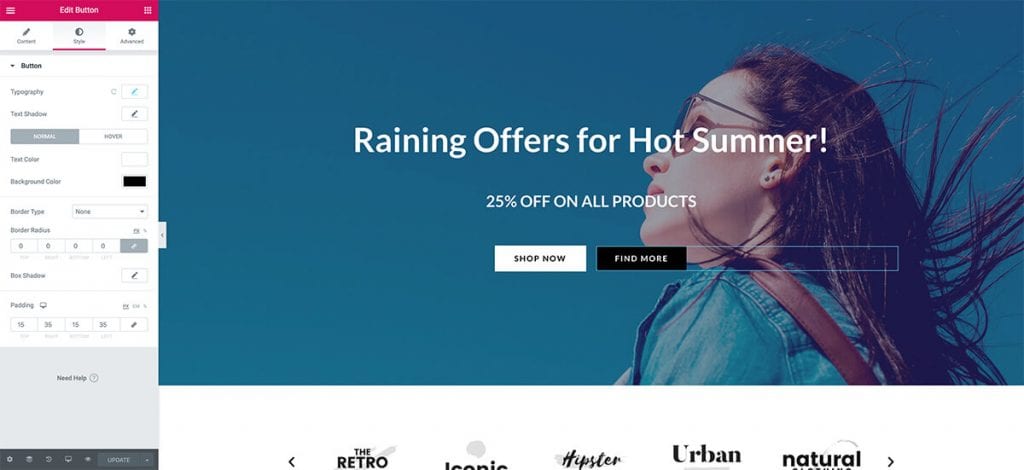
When you’re done with customizing your site, click on the Update button and the changes will be applied. You can then repeat these steps for all the other pages on your site.
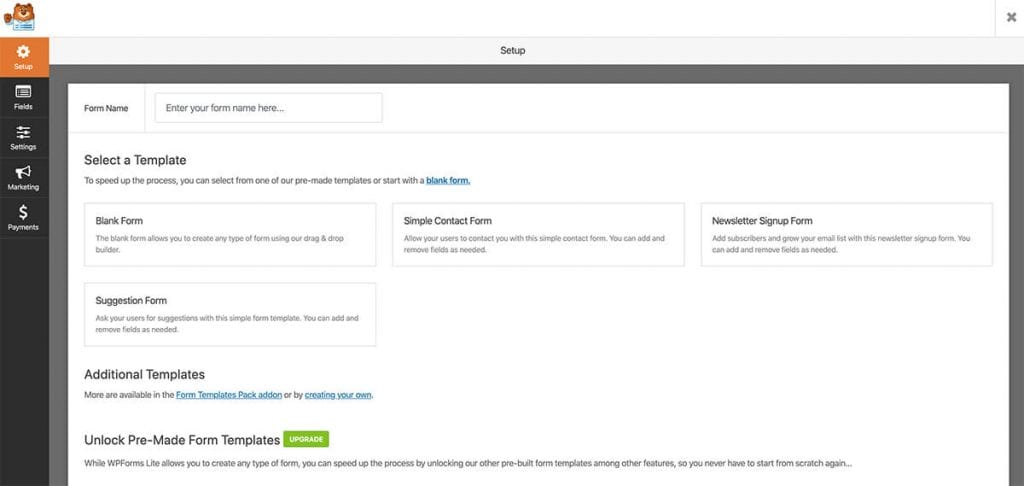
You’ll need to add a contact form to your site so people can email you using your Contact page. Go back to your WordPress dashboard and click on Plugins > Add new. Search for WPForms and install and activate the plugin.
You’ll see the plugin’s welcome screen with a button prompting you to create a form so go ahead and click it. Choose a Simple Contact Form and make sure that the form submissions will go to your primary email address by entering it in the Settings area. Click Save. You’ll see a shortcode for the form you’ve just created so copy it.
Go back to your Contact page and click Edit With Elementor. In the Elementor interface, search for the Shortcode block and paste the form’s shortcode. Update the page and now your customers will be able to contact you.
Once all your pages are set up and designed the way you want them to, it’s time to customize your site with the Customizer. Visit your website and then click the Customize option or in your dashboard, go to Appearance > Customize.
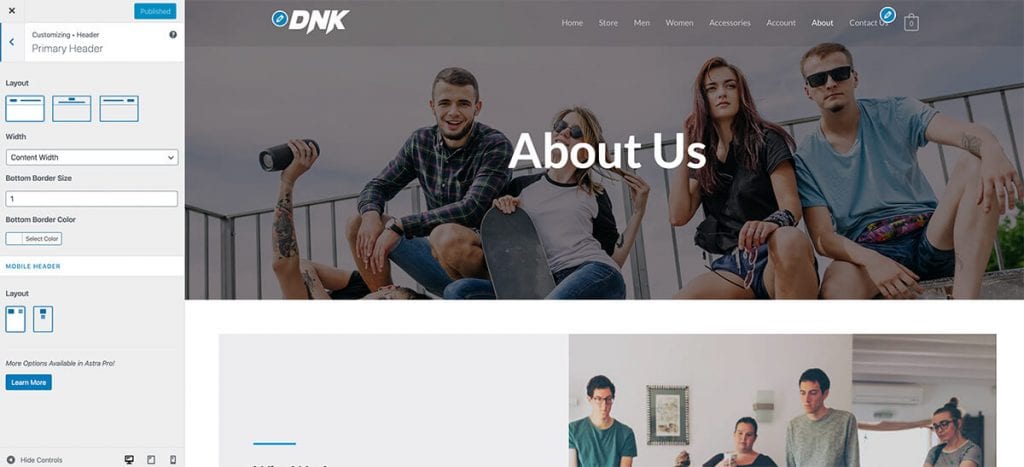
As you can see, the Customizer allows you to change colors, upload your logo, set your homepage, add widgets to your footer area and more. In short, it controls the styles for your website.
Keep in mind that you can override some of these options, like fonts and colors, using the Style options in Elementor’s blocks.
The first thing you need to do here is to go to your dashboard and go through the WooCommerce setup process. This is where you’ll configure the main options for your store.
Once the setup process is complete, we can start creating our products. Let’s start by creating a simple product. Go to Products > Add new.
When the page loads, you’ll be able to add a title and a description for your product. Other options will allow you to add product images, set your price, and configure stock management settings where your customers can see how many products you have in stone.
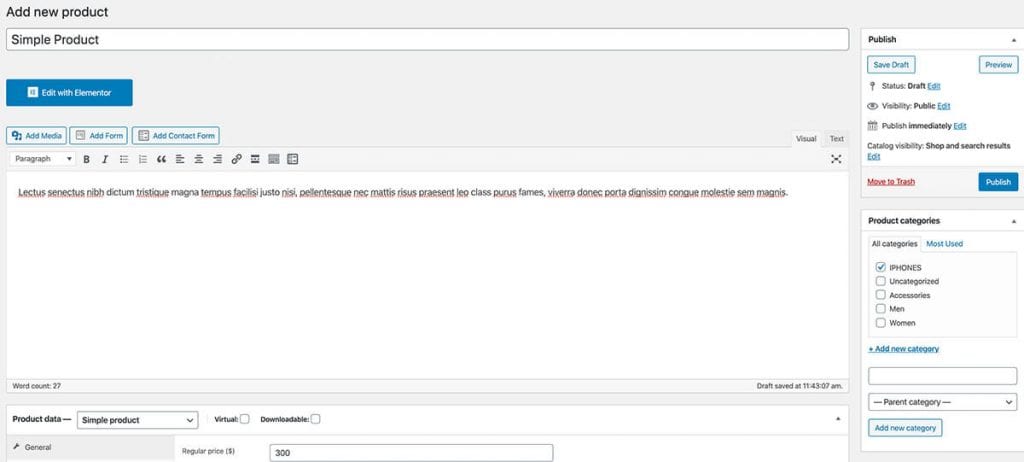
Another option you have is to enter categories and tags for your products to make your store more organized.
When you’re done, click the Publish button and now the product will be available and visible in your store.
Creating a variable products is similar to creating a simple product. Start by going to Products > Add new and then choose the Variable product from the dropdown menu.
Then, click the Attributes section and create product attributes such as color or size. In this example, I’ve added attributes for size and color.
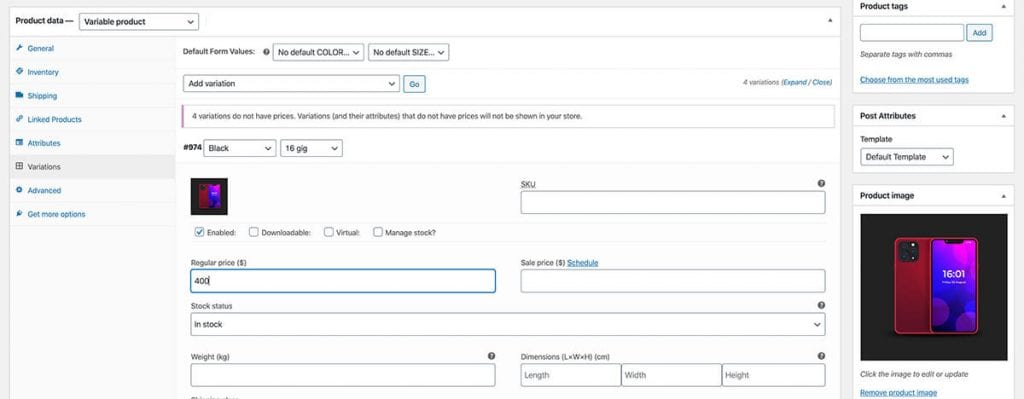
Save your attributes and click on Variations tab. You’ll need to select the option to create variations from attributes and then set the price for each variation. If you miss this step, product variations, won’t show up in your store.
By default, your products will wind up on the Shop page that WooCommerce creates for you automatically when you activate this plugin. However, you can easily display your products on any part of your website thanks to shortcodes that WooCommerce has.
For example, you can display products from a certain category on your homepage with this shortcode in between square brackets:
products limit=”4″ columns=”2″ visibility=”featured”
Other settings in WooCommerce that you need to configure include:
If you want to follow along, here’s a video I made that will cover the steps in this tutorial:
As you can see, creating an eCommerce website with Elementor is not difficult. Use the steps outlined in this tutorial and video walkthrough to help you set up your WooCommerce store and start selling.